Run your own Unity Package Server (Google Cloud)
This is an updated version of a post I originally published on Medium here
A while ago Unity introduced its Package Manager, a nice and simple way to bring reusable packages into a project while keeping track of dependencies and compatible Unity versions.
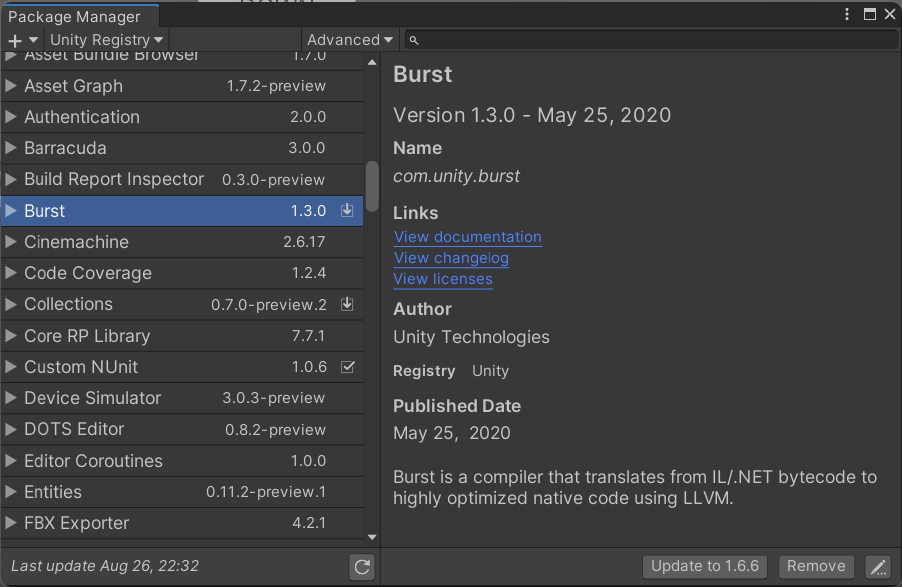
How great would it be if we could use this system for our own reusable assets, if we could store them on our own server and have them show up in the package manager too?
Well, as it turns out we can!***** *(since Unity 2018.3+)
Unity is using a normal npm package server to serve their packages. So we can simply set up our own npm package server, hook it into the project manifest and have the package manager serve our own packages in addition to the ones from Unity!
Unity is using Artifactory, but we’re going to install Verdaccio (a lightweight and free npm registry server)! We’ll put it on a *Micro *Instance on the Google Cloud Compute Engine (but you could just as well have it run in any other cloud, on your ↗️ local NAS or even on your local PC).
Let me walk you through it…
Step 1: Creating a server instance
Go to your Google Cloud Platform Console, choose Compute Engine > VM Instances and click on CREATE INSTANCE.
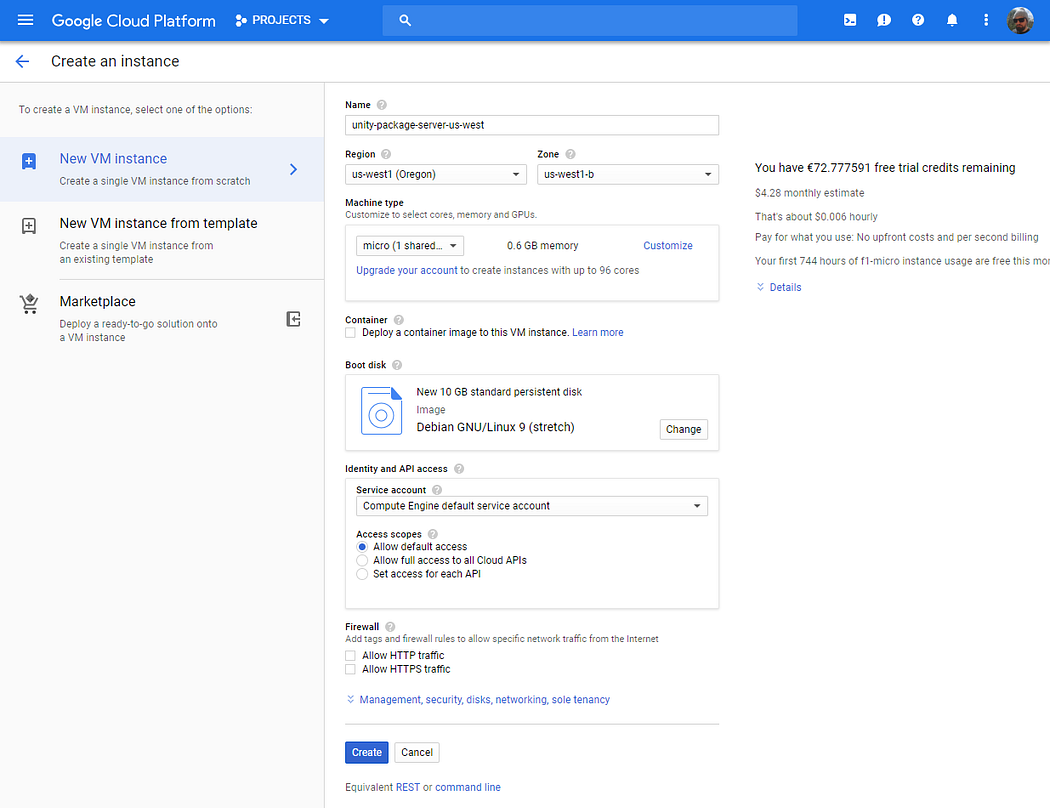
Give it a name, choose a region, select *micro *as the machine type and click *Create *to create your Debian 9 Linux Server with 10GB of storage.
Notice how it estimates the monthly cost as $4.28 - and that’s indeed pretty close to what I’m paying for it per month.
With our instance created and running, we’ll now connect to it by clicking on SSH.
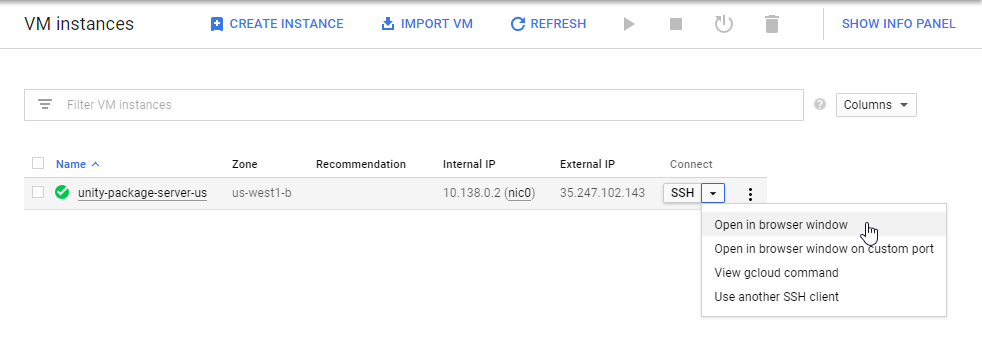
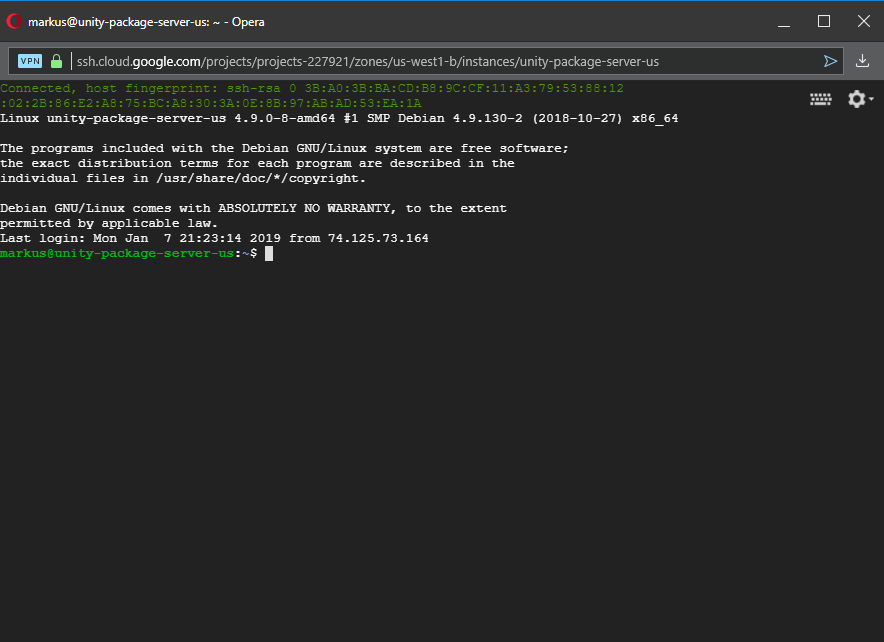
This will open up a linux terminal in a browser window
Step 2: Installing and Configuring Verdaccio
Prerequisites
Now we’ll install or own package server, Verdaccio. We want to do this as the root user, so we’re going to create a password for the root:
$ sudo passwd
Think of a password and enter it. And enter it again.
Now log in as the root (su = superuser = root):
$ su
It asks for the password you just set, enter it and you should now be logged in as the root user!
Next we’ll install NodeJS and npm (the node package manager)
$ curl -sL https://deb.nodesource.com/setup_11.x | bash -
$ apt-get install -y nodejs
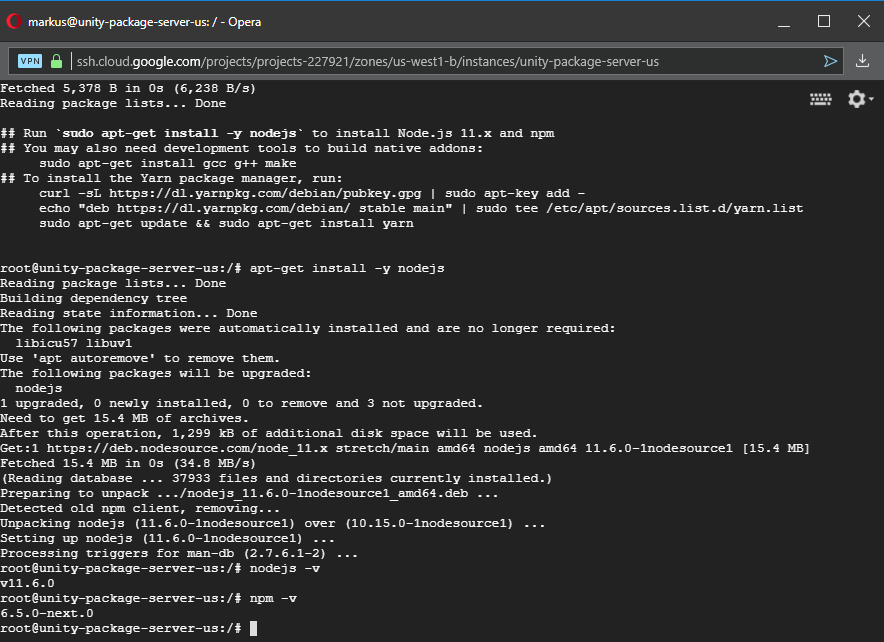
nodejs and npm are installed!
For both these steps you’ll see it installing things, no errors should come up.
To verify that both nodejs and npm installed correctly you can check their versions like this:
$ nodejs -v
$ npm -v
If each command shows you a version, then it worked!
Installing Verdaccio
Now we’re ready to install Verdaccio!
$ npm install --global verdaccio
Let it install. Once it’s done switch back out of super-user mode by either pressing CTRL+D or typing exit, because while we wanted to *install *it as the root user, we want to *run *it as a normal user.
We’ll configure it in a second, but first we need to run it to make sure it generates its config file.
$ verdaccio
Then press CTRL+C to kill it and we’re ready to change the config file!
$ cd verdaccio
$ vim config.yaml
This opens the config.yaml file in the VIM text editor. No need to panic, I’ll walk you through it.
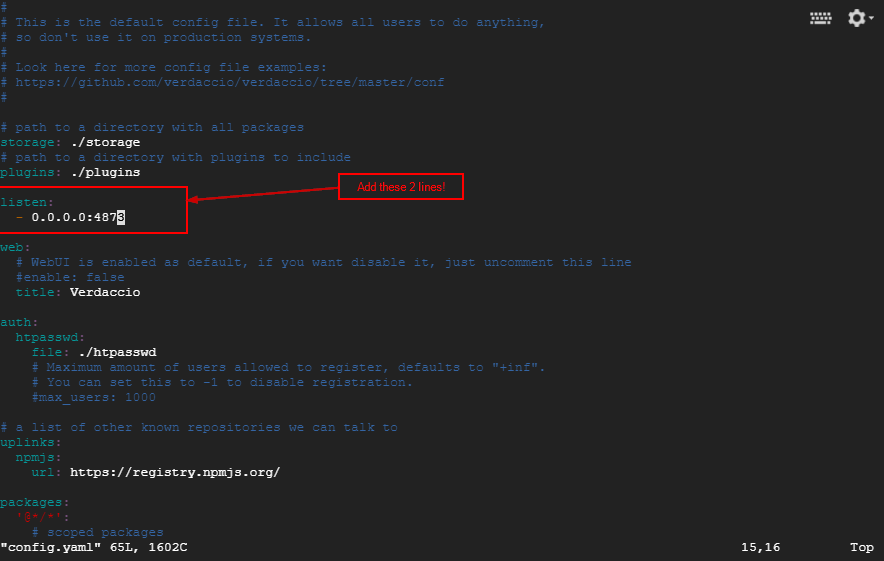
All we need to do is add two lines to tell verdaccio to listen to all signals from everywhere as long as they come through port 4873:
listen:
- 0.0.0.0:4873
Press **i** for insert. Add the two lines, then press ESC to come back to command mode.
Now type **:x**** **and press *Enter *to save the file and quit VIM.
Let’s run verdaccio!
$ verdaccio
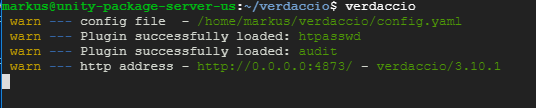
Verdaccio is running on port 4873!
Firewall
Great, it’s running! But we need to tell the firewall around our server instance to un-block port 4873 so we can communicate with Verdaccio from the outside!
Go to the Google Cloud Platform Console > VPC network > Firewall rules and click Create Firewall Rule.
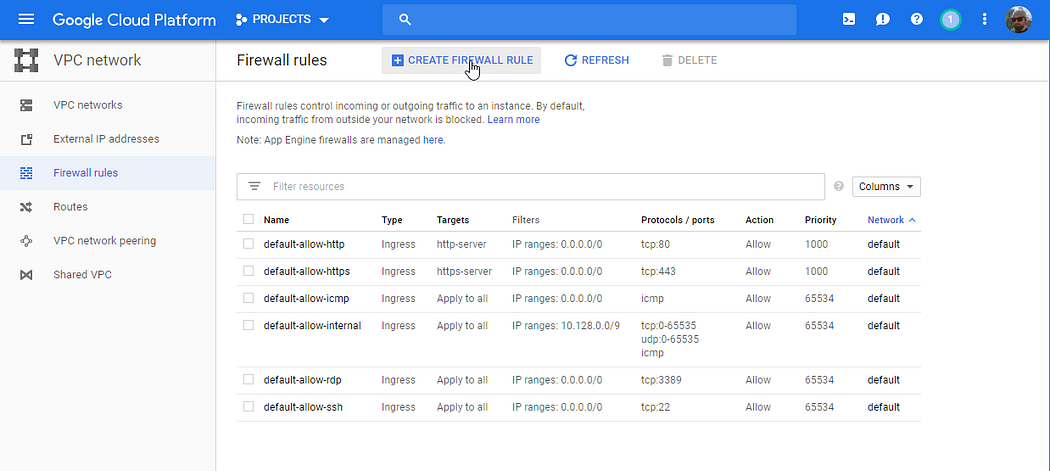
Add a Rule to the Firewall
We want to create a rule that allows incoming traffic (Ingress) from all possible IPs (0.0.0.0/0) for tcp port 4873.
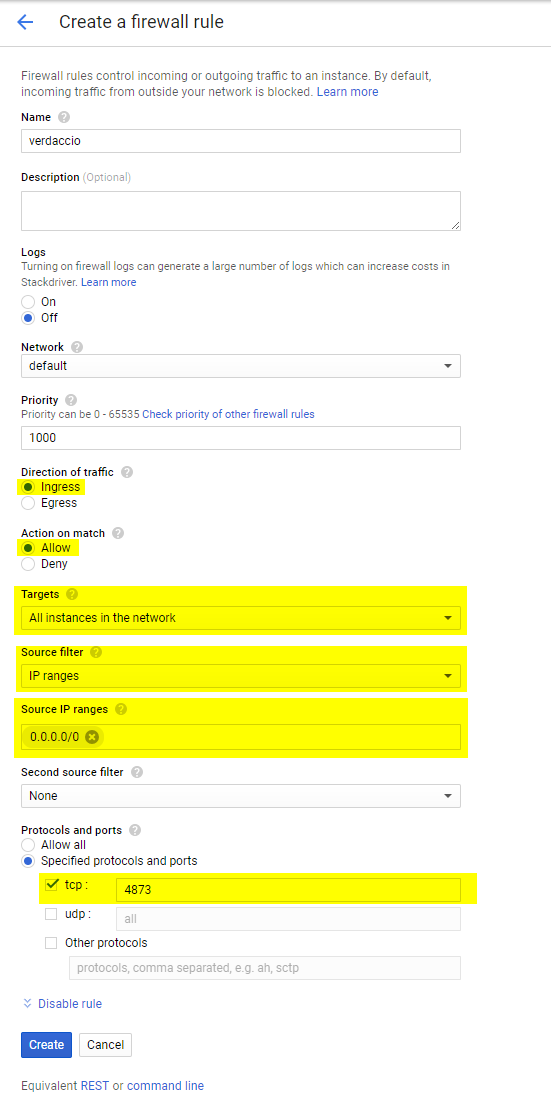
I marked the important bits in yellow. Turns out most of the bits were important…
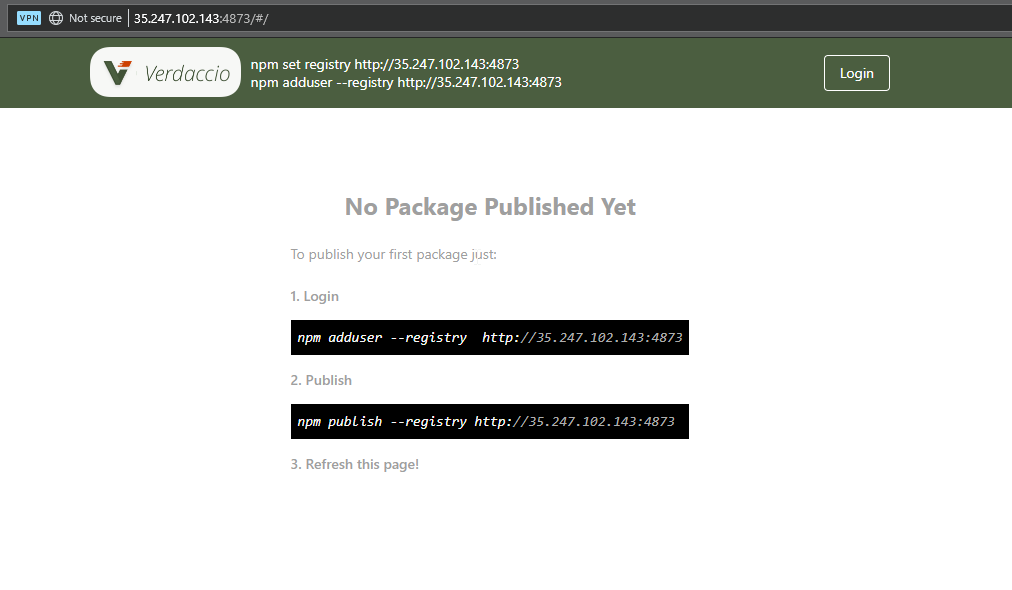
And we’re done installing! Verdaccio is running and accessible from the outside world! Point your web browser to http://[your server’s IP]:4873 and you should see this:
Keeping Verdaccio alive
Nice! The only problem is: As soon as we close the console window, Verdaccio gets shut down, so we have to work around that with a little tool called screen! (should be installed, if it’s not you can get it with *sudo apt-get install screen*)
Press **CTRL**+**C** to kill Verdaccio and type
$ screen
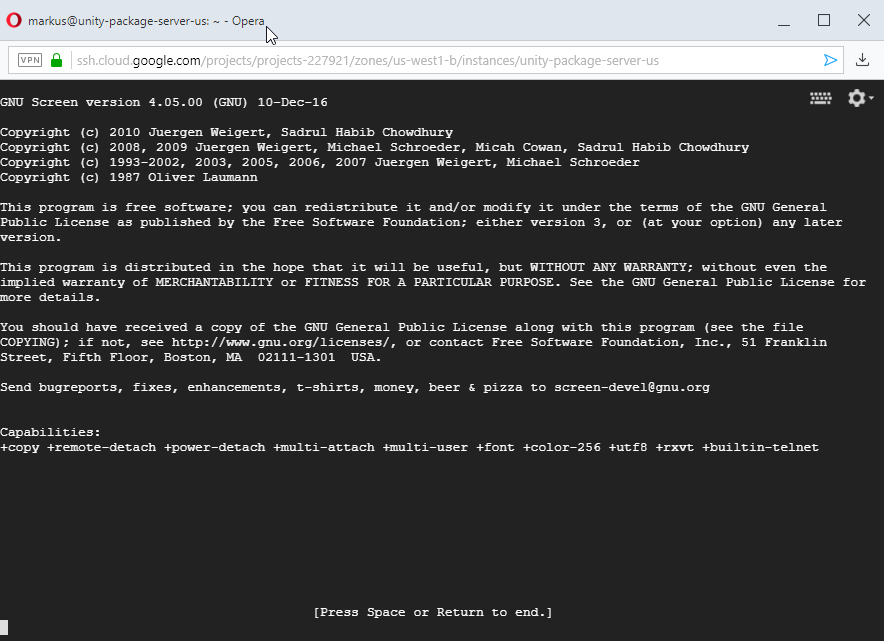
This opens up a new virtual screen, a kind of safe place, which is where we will now launch Verdaccio:
$ verdaccio
Then we simply press **CTRL**+**A**** and **CTRL**+****D** to detach the screen session.
It’s still running in the background with Verdaccio safe and sound inside it and we can even get back to it at any time by typing *screen -r*, but most importantly we can now close our terminal window without killing Verdaccio!
Now we’re ready to create users, add packages, and hook it up into Unity!
Step 3: Creating a user
Let’s open PowerShell (or something similar) on our local machine and create a user! (You’ll need npm for this — if it’s not installed you can get the installer here — remember how to check if it’s installed? Works here too!)
> npm adduser --registry http://[Server IP]:4873
Enter a username, password and email address and you should be created and logged in!
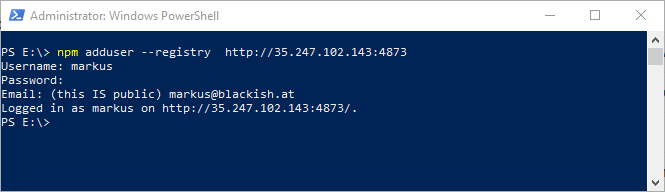
User created!
Later on you can log back in with:
npm login --registry http://[Server IP]:4873
Step 4: Creating and uploading packages
The process for this is simple: Put all the files into a folder, add a package.json file that holds all the relevant information and upload everything via npm!
I recommend having that folder in a Unity project, because the resulting package will not work if a meta file is missing and having it inside Unity makes it easy for you to see if everything is in order.
Let’s add a package.json file to the root of the folder that looks like this:
package.json for a package without dependencies
Note how you can define a required unity version, description and other things. You could even add a README.md file.
You also need to have assembly definition files in there or it will not compile (as the actual files will reside outside the Assets folder), so make sure those are set up correctly! (I wrote a ↗️ little post about how to deal with them too.)
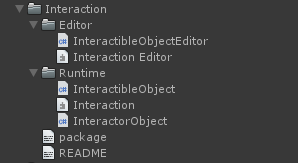
Once it’s all set up, got to the folder you want to publish in PowerShell and do:
> npm publish --registry http://[Server-IP]:4873
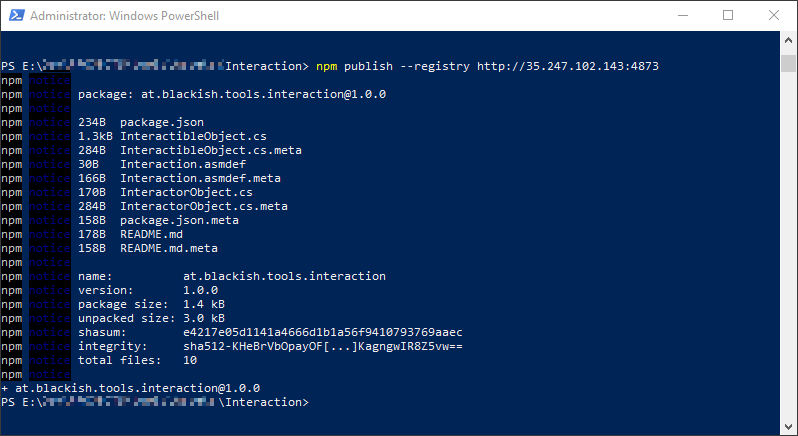
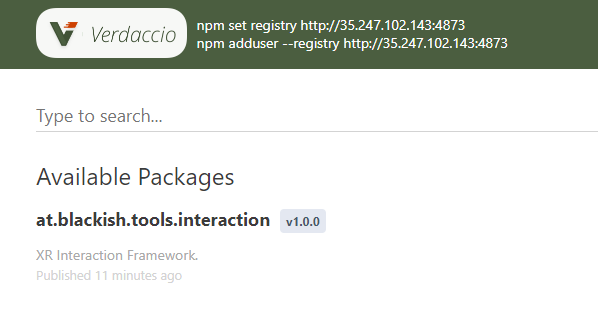
npm and Verdaccio will do the rest and your package will now be visible on Verdaccio’s web interface!
Updates
If you want to release an update to your package, simply increase the version in your package.json file and publish the same way!
Verdaccio will keep the entire history of your packages so dependencies will always bring in a compatible version.
Unpublish (remove) a package from the server
You can get rid of packages too. This will remove all versions and get rid of the package entirely:
Leave a comment