DIY Arduboy
You could just as well buy a readymade Arduboy, but building one yourself is a very rewarding project that’s not too difficult to complete!
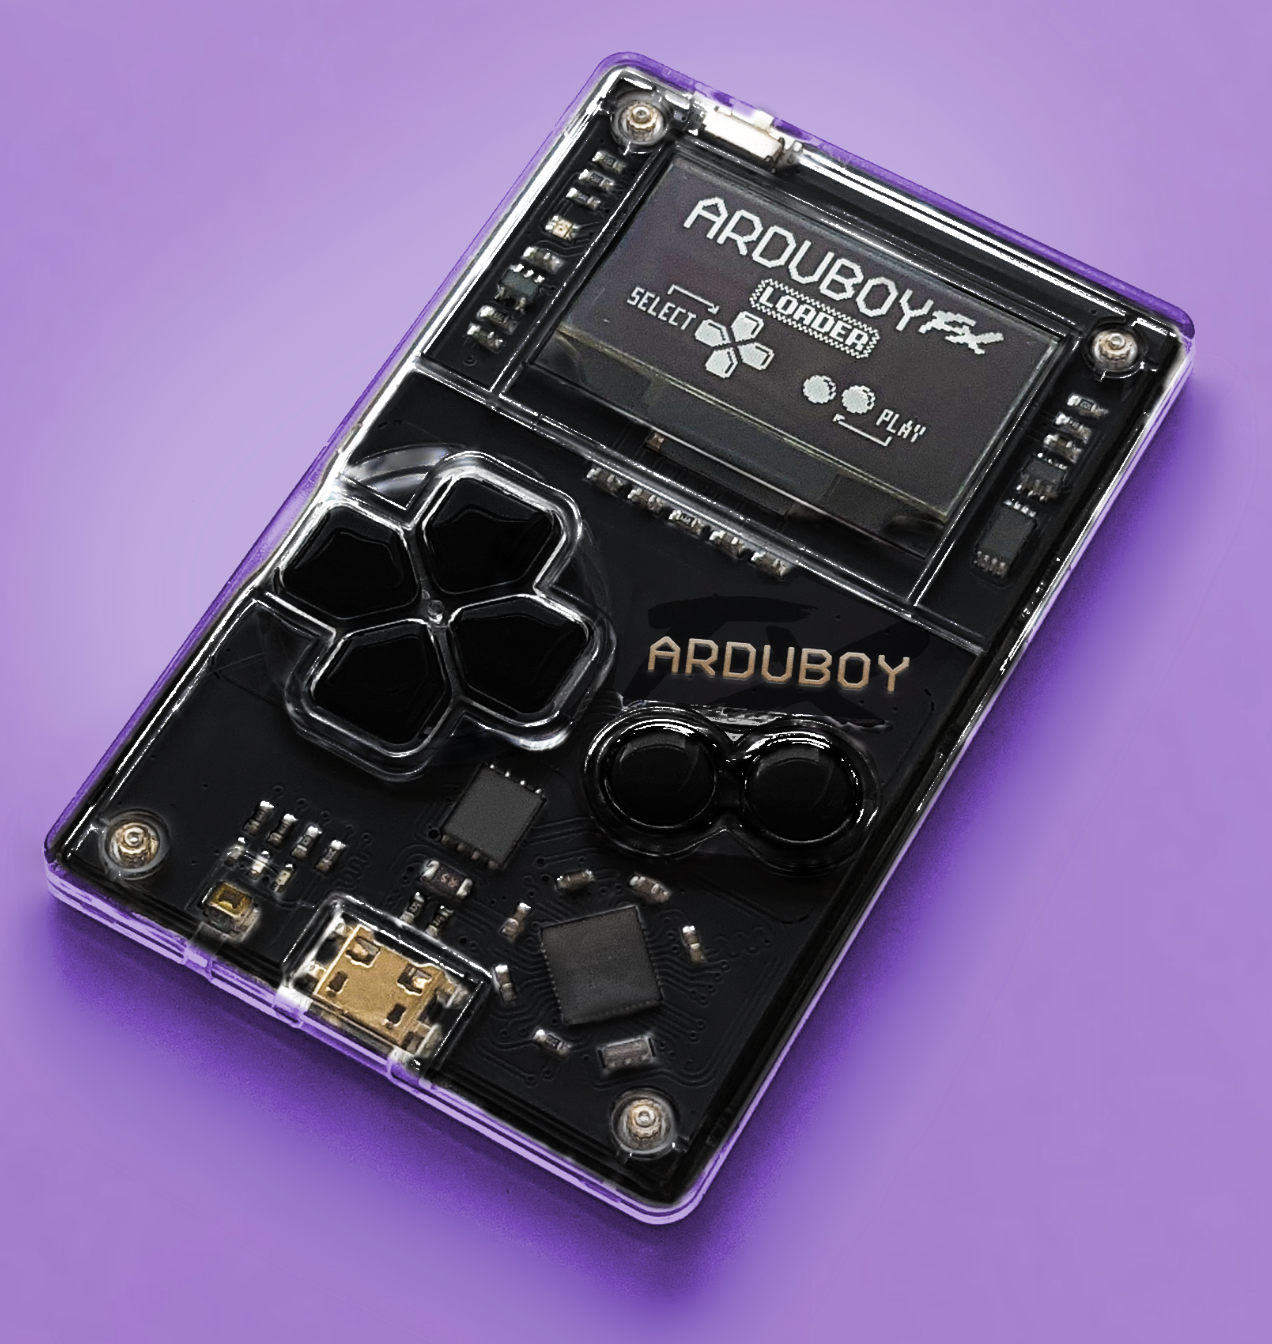
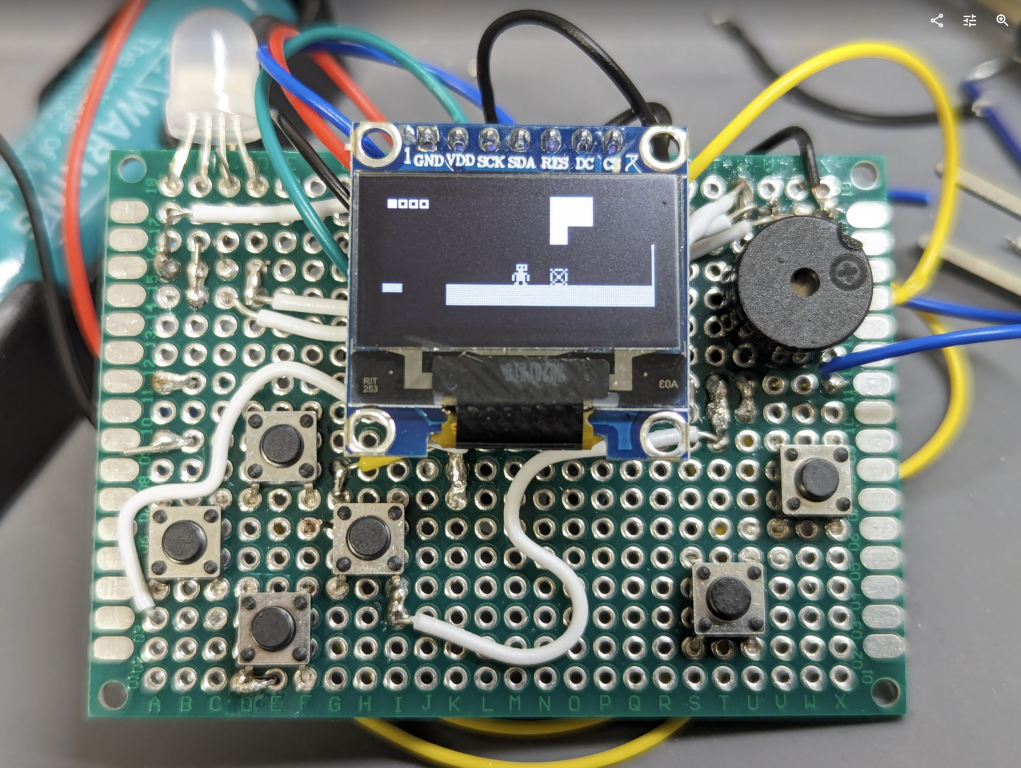
All you need is an Arduino Micro (Arduino Leonardo and Sparkfun Pro Micro would also work) and a small 7-pin OLED display!
Bill of Materials
If you follow those links to AliExpress, the total cost is about USD 22, but you’ll end up with many buttons, buzzers, resistors, LEDs and wires to spare. (You can also buy the same components in many other places!)
-
1x OLED Display 128x64 SSD1306 (with 7 pins!)
-
6x Push Button
-
1x RGB LED (Common Anode)
-
2x 100 Ohm Resistor
-
1x 220 Ohm Resistor
-
1x Buzzer
-
1x Breadboard
Breadboard Arduboy
As a first step, put it all together on a breadboard and make sure it works as it should!
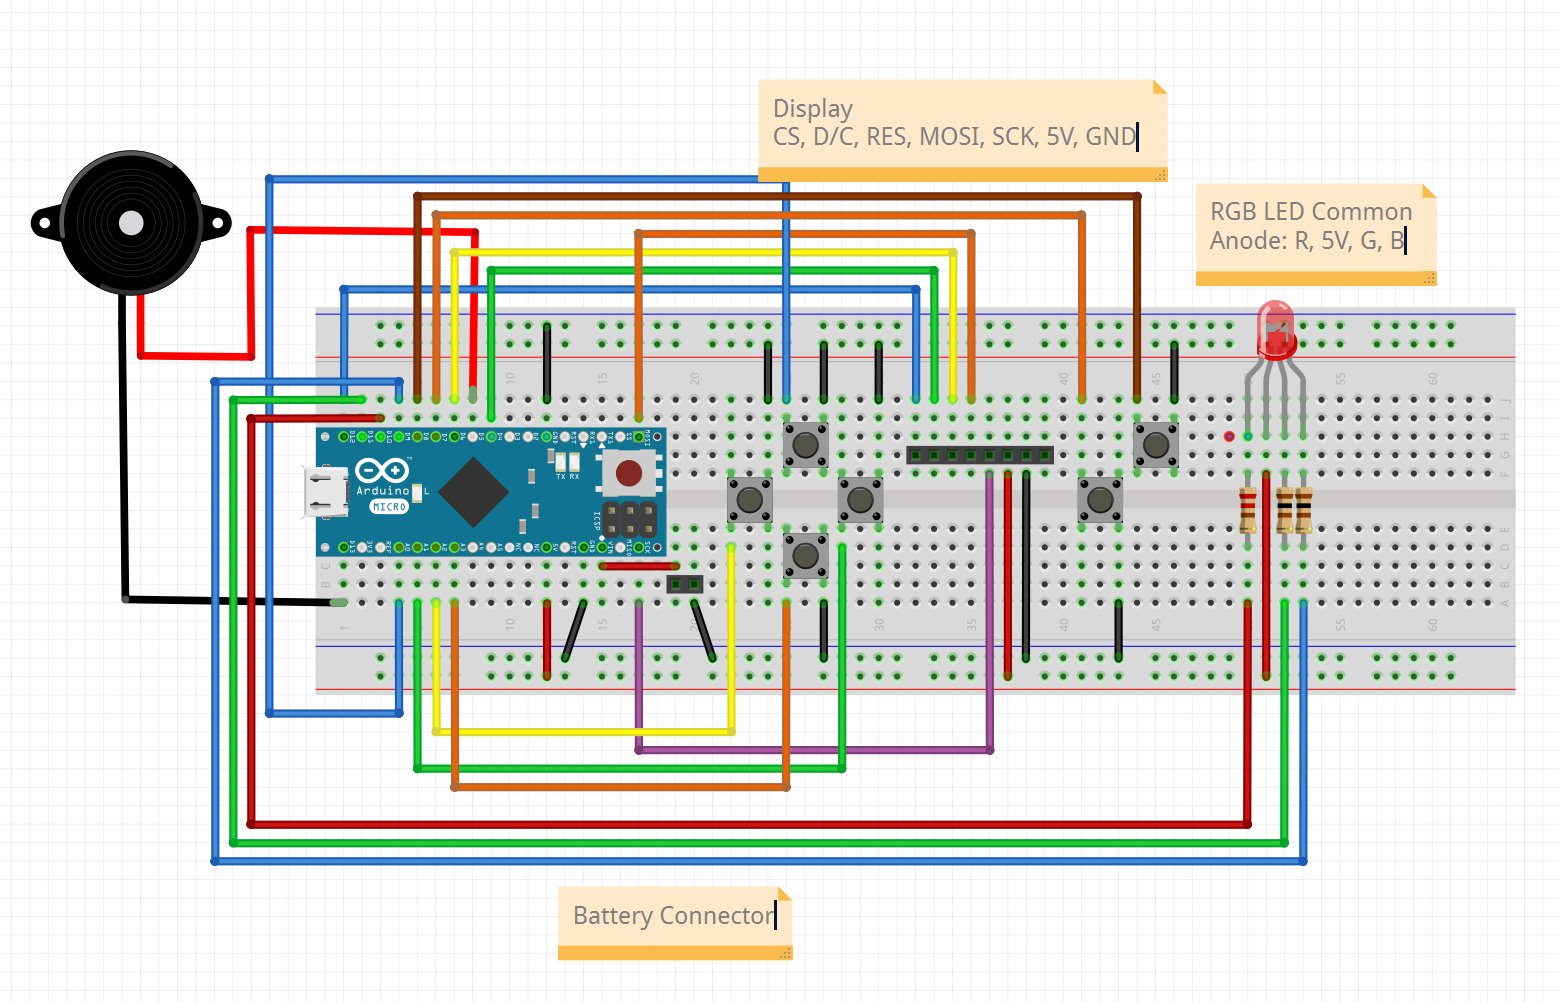
Fritzing: ⬇️ ArduboySketch.fzz
Display Setup
Every display seems to have its pins in a slightly different order, so just make sure this is how you connect them:
-
CS → D12
-
D/C → D4
-
RES → D6
-
MOSI → MOSI
-
SCK → SCK
-
5V → 5V
-
GND → GND
Buzzer
-
- → D5
-
- → D13
Buttons
-
UP → A0
-
RIGHT → A1
-
LEFT → A2
-
DOWN → A3
-
A Button → D7
-
B Button → D8
RGB LED
-
R → R220 → D10
-
5V → 5V
-
G → R100 → D11
-
B → R100 → D9
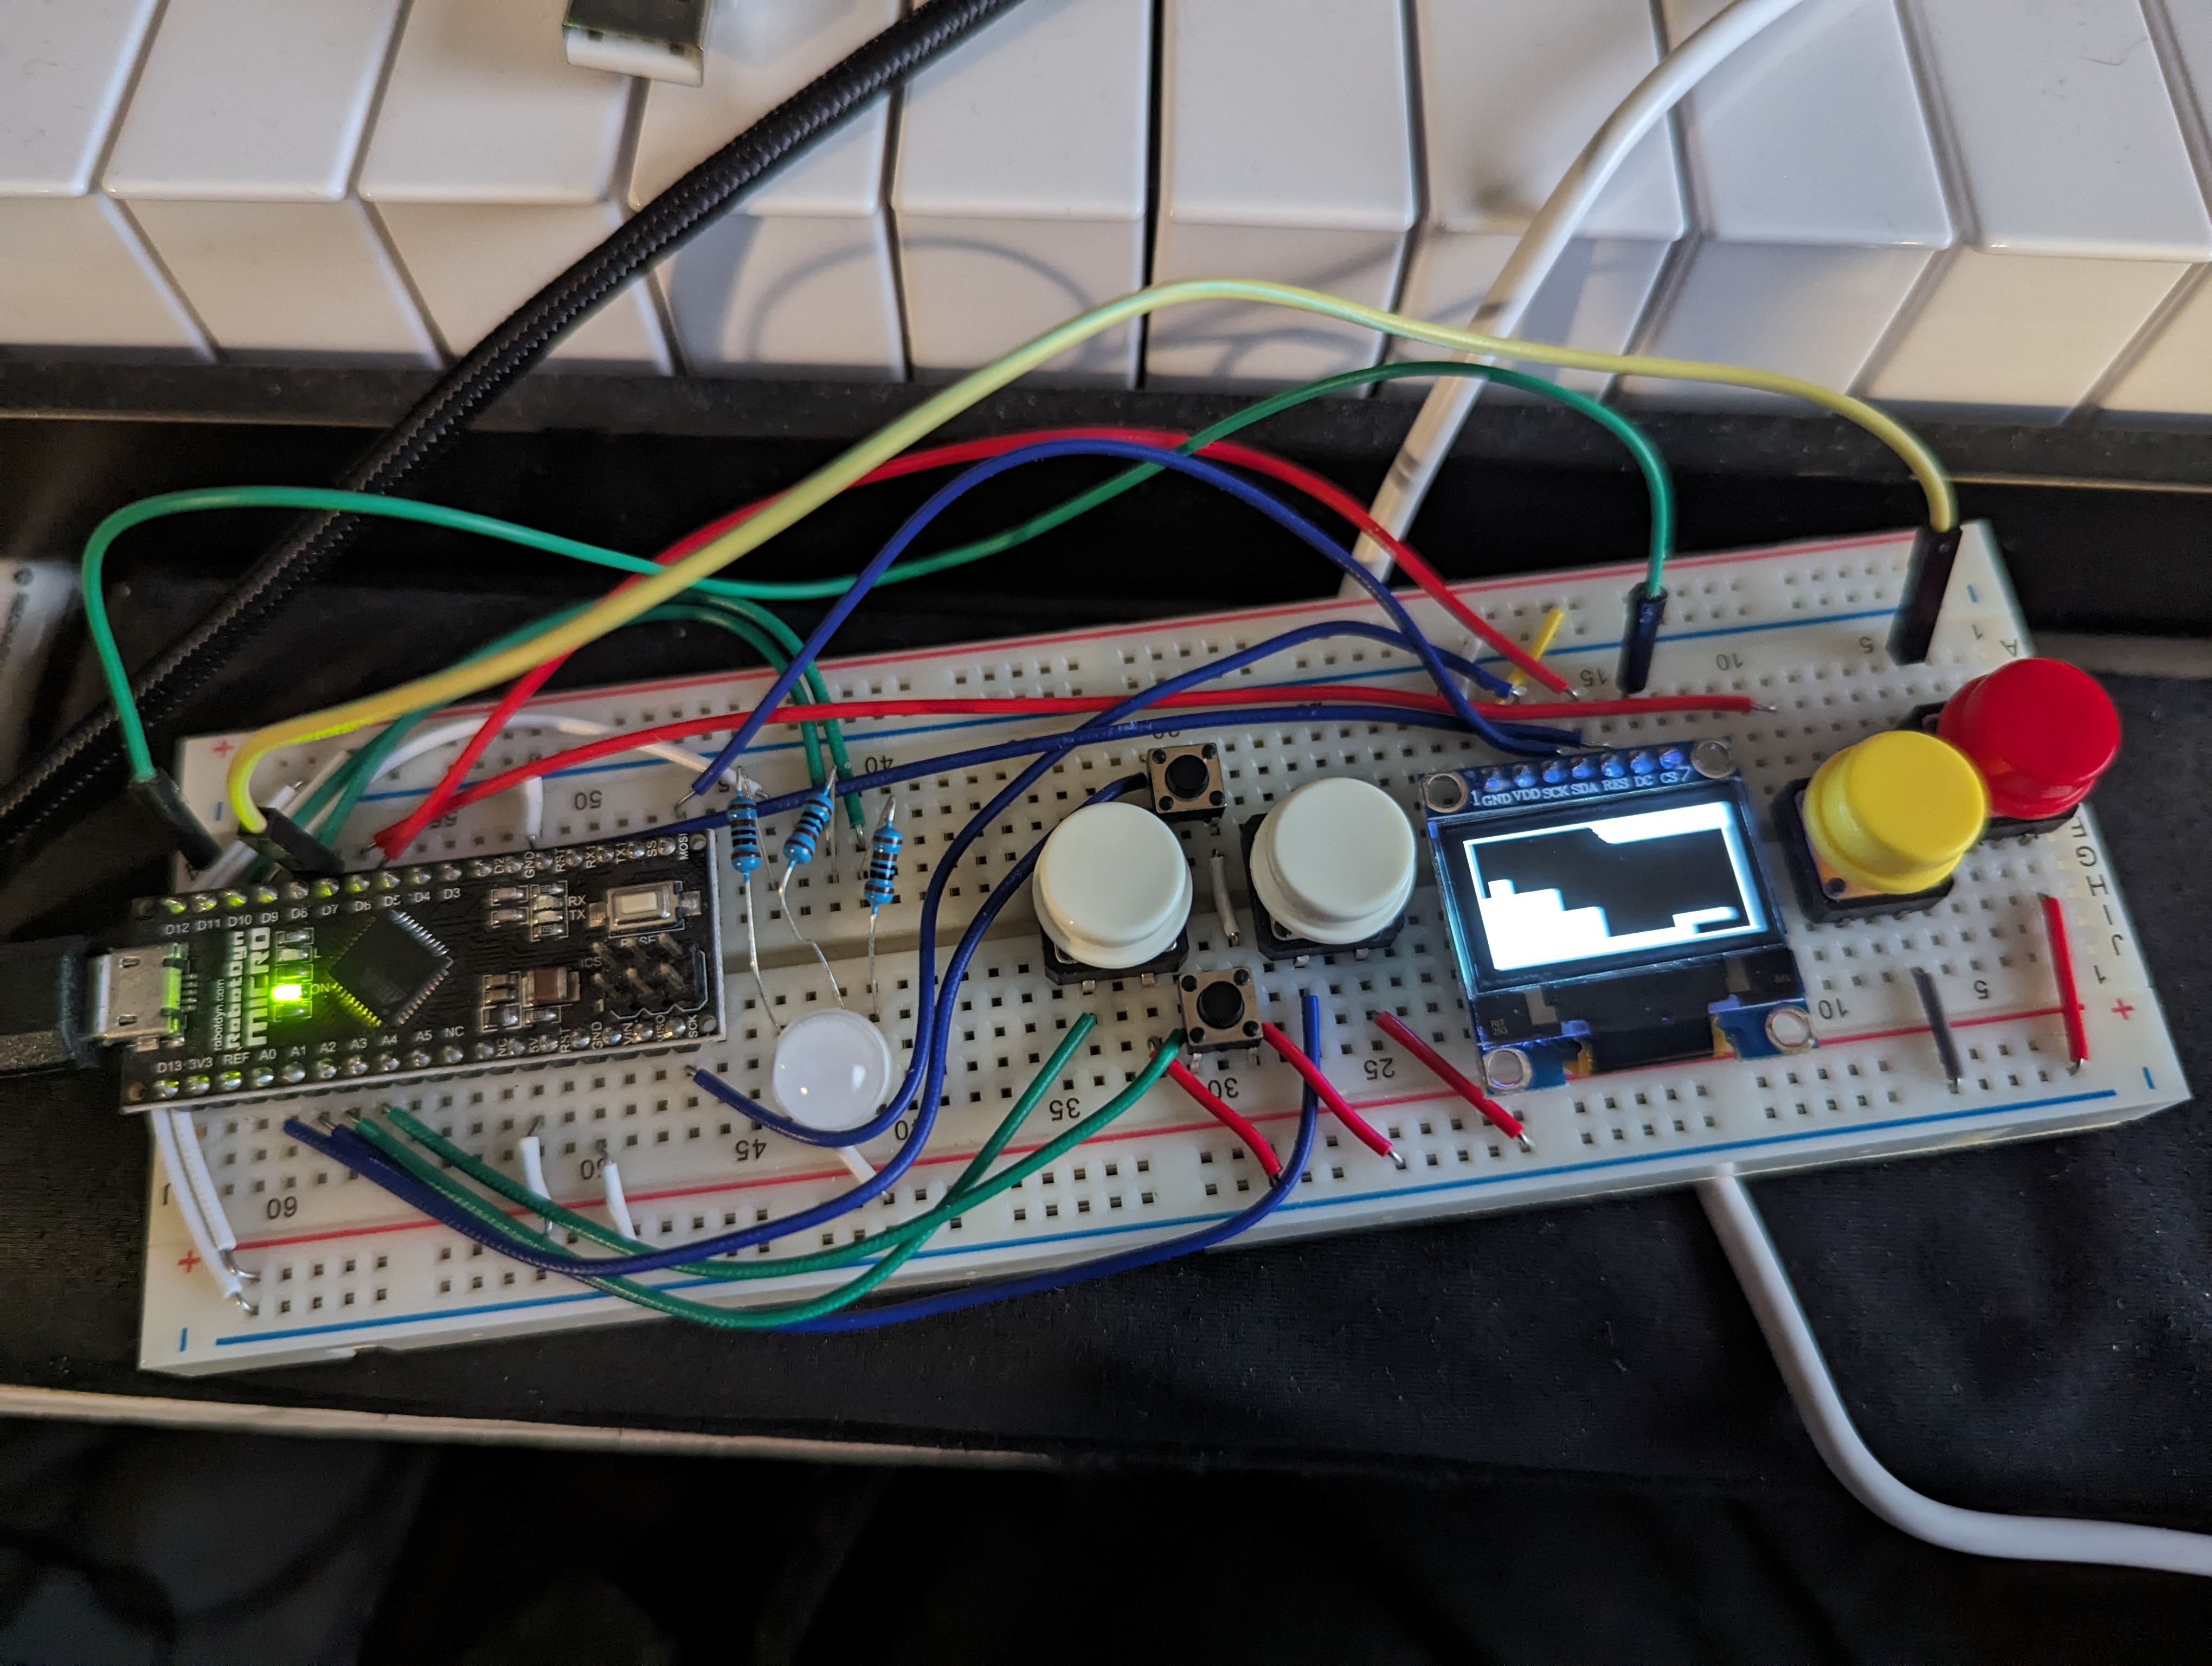
Perfboard
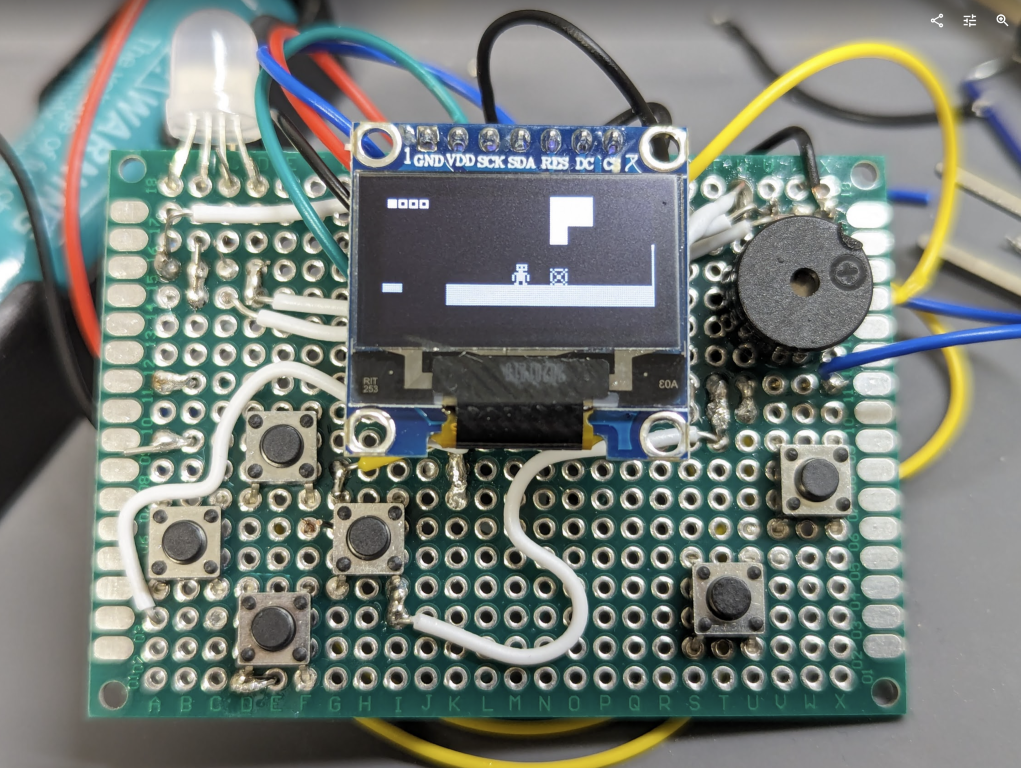
If you want to make it permanent you can get some double-sided Perfboard and solder it all together. I used Female-To-Male Connector Strips to keep the display and microcontroller removable.
Where to go from here
-
Here’s a huge list of games, many have the source code available!
-
If you want to make your own games, check out these articles in the KnowledgeBase:
-
📙 Arduino C++ - all the basics to get you started with C++ for Arduino
-
📗 Making Games for the Arduboy - An introduction to the Arduboy2 library
-
My blogpost on the history of 📑 Handheld Gaming
-
Page Edits:
- Switched Active Buzzer for a Passive Buzzer (as it should be)
- Accidentally linked to an Arduino Nano instead of a Micro or Pro Micro - fixed!
Leave a comment